Headless Raspberry Pi Zero W Setup
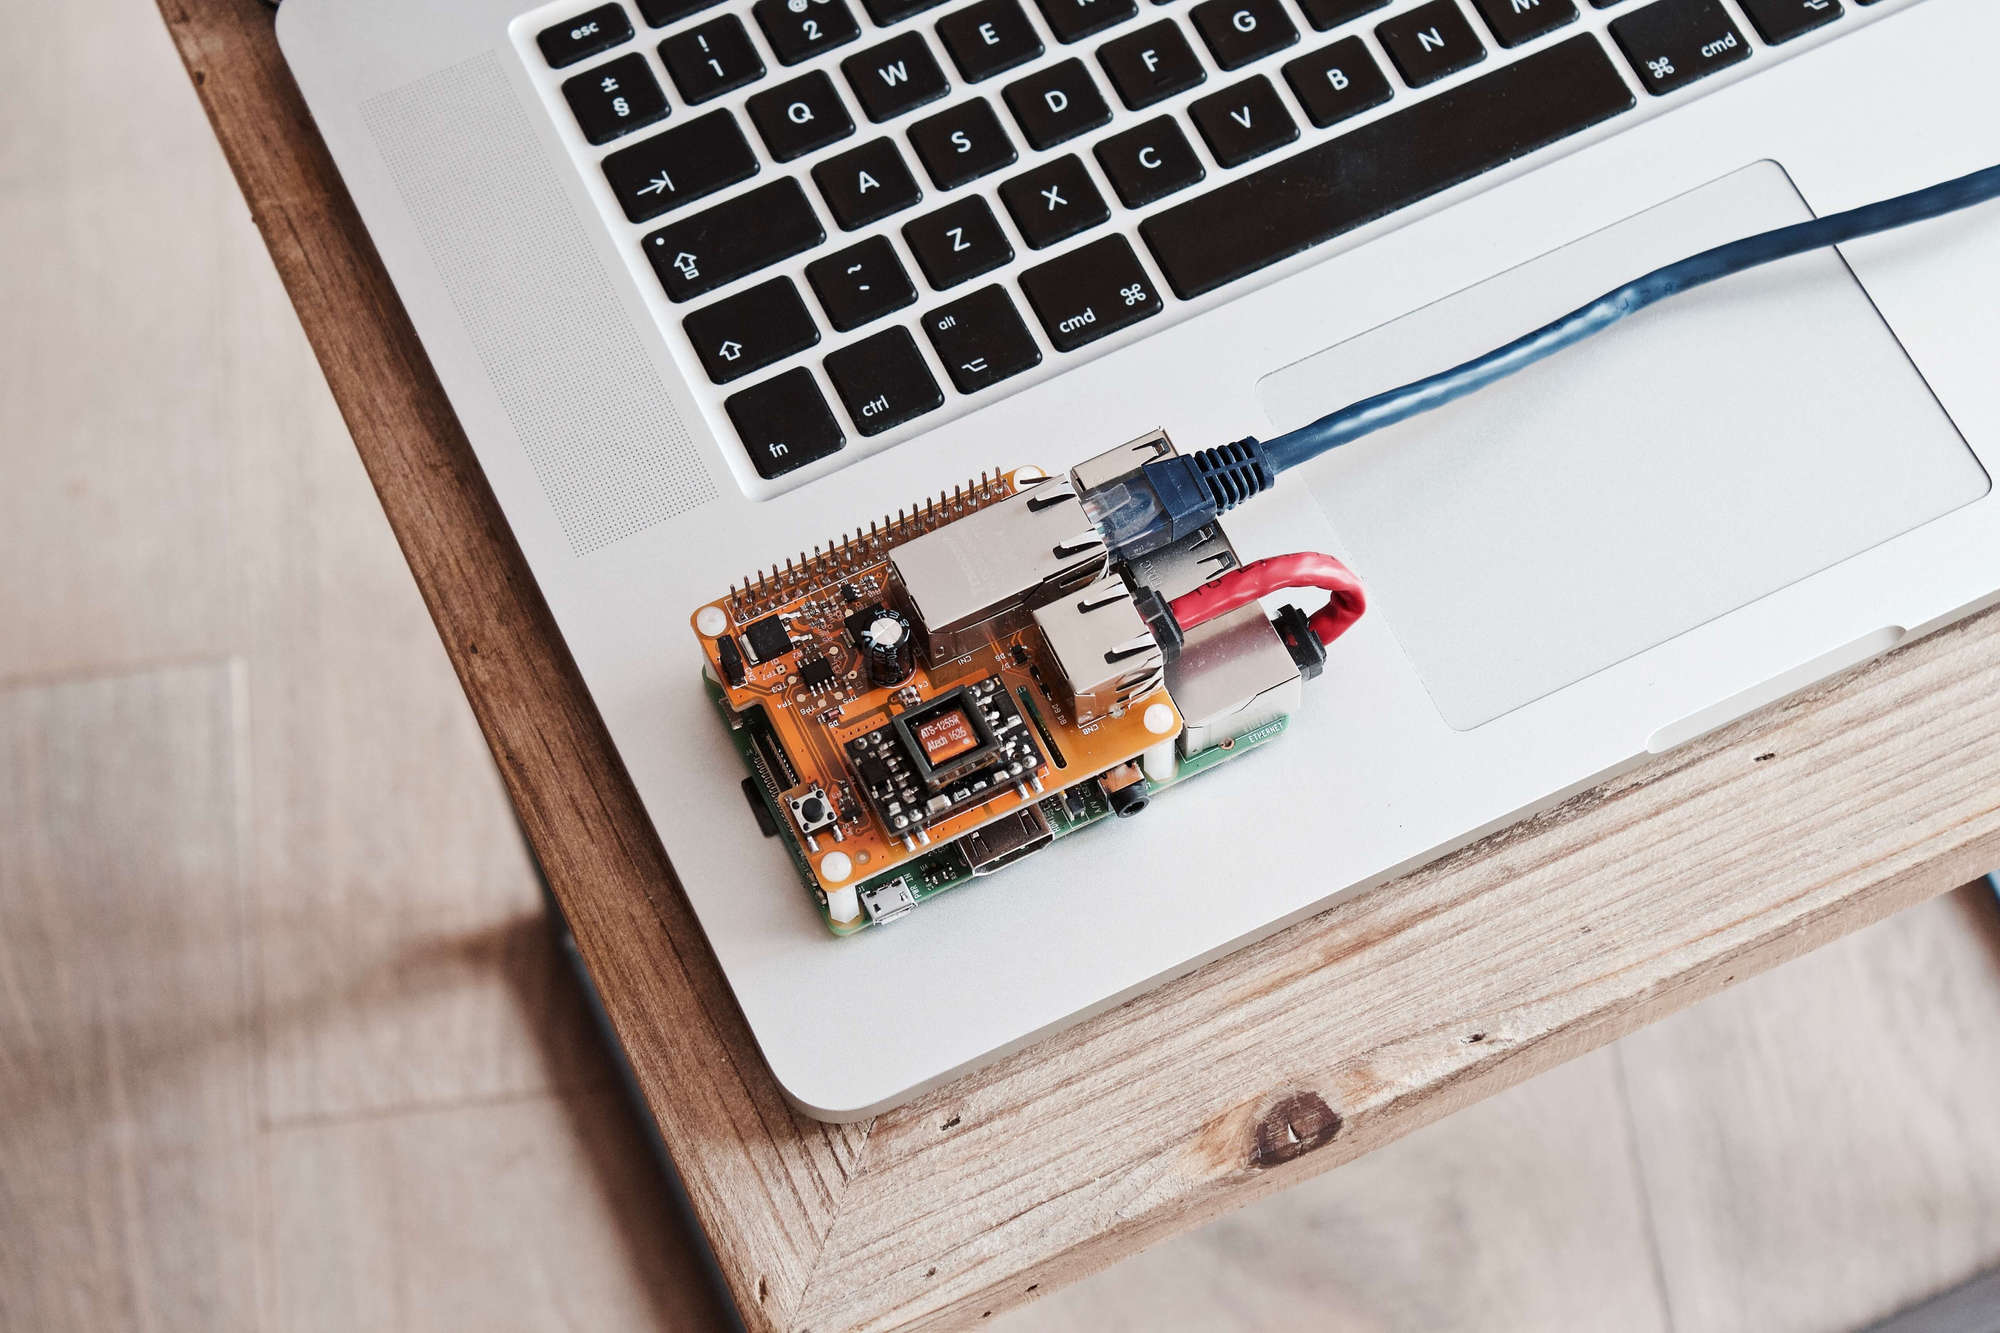
Raspberry Pi Zero W is an affordable and easy to use development board. Since it has limited CPU and RAM resources you can accelerate the development process using the Raspbian headless mode. No additional monitor or keyboard is required in order to get started.
Burn the Raspbian Lite image
First things first: you should download the Raspbian Lite image from the official download site page. You also have to download the Balena Etcher utility, which can be used to flash the Rasbian Lite image without any hassle. You’re also going to need a micro SD card, (a 4GB one will work just great).
Connect your SD Card to your computer and launch the Etcher, select the Raspbian image, select the SD card and flash it. This step might take a while. When the card is flashed it will automatically get ejected.
Enable Wireless networking
The Raspberry Pi Zero W has a built-in WiFi chip which can connect to your wireless network, provided that you specify the credentials first. To do that, attach your SD card to your computer again. The Etcher has renamed the card to `boot`. Navigate into the directory using your terminal as ` cd /Volumes/boot/`. You can always use your Finder and navigate to the boot directory. Create a new empty file where network info can be stored`touch wpa_supplicant.conf`. Edit the file and enter the credentials for your wireless network:
network={
  ssid="NETWORK_NAME"
  psk="NETWORK_PASSWORD"
  key_mgmt=WPA-PSK
}
Usually, this setup is good to go.f you find yourself in trouble though you can take a look at the official documentation regarding the wpa_supplicant settings.
Enable SSH access
Now you should enable SSH access to your board. Assuming that you are already in the `/Volumes/boot` directory, create an empty `ssh` file as: `touch ssh`.
Connect to your board
Now it’s time to boot the Raspberry Pi Zero. Insert the SD card into the Pi Zero W and connect it to a power source; a Micro-USB power cable into the power port will do the trick. Once it powers up it takes some time to boot and connect to the WiFi, usually from 45 to 90 seconds. Using `nmap` or a network scanner like LanScan you have to obtain the new device connected to your network. The Pi also exposes `raspberrypi` as a hostname. Using the IP address you can SSH your board as:
~ ssh pi@192.168.1.14Type in the password, which by default is raspberry. You can also use the hostname to SSH, like this:
~ ssh-keygen -R raspberrypi.local
~ ssh pi@raspberrypi.local
Change your hostname and password
For security reasons it’s better to change the hostname and password. Once connected to the Pi use `sudo raspi-config`. Change the default password and hostname and write down the new hostname. Once the changes are saved reboot the Pi as `sudo shutdown -r now`. Assuming that your new hostname is *blueberrypi you can connect to the board using SSH as `ssh pi@mypi.local`.
Get the updates
Finally, you get the latest updates for the Pi as simply as typing:
~ apt-get update -y
~ apt-get upgrade -y
Final thoughts
Raspberry Pi Zero is affordable and super fun to work with. In the upcoming tutorials I am going to show you how you can control external components using Node.js, how you can build and deploy applications using a continuous delivery pipeline and a lot more. Stay tuned!
Troubleshooting
- The wpa_supplicant.conf might require a few additional settings, you can take a look at the official Pi documentation.
- There are some additional docs about connecting to a board using SSH.